
Rega P3, 24 Volt Motor Upgrade At Audio T Oxford
/This 30 year old Rega P3 was bought in with a failed motor. After discussing the various options with the client, it was agreed that it would be a good opportunity to replace the old motor with the new improved 24V version.
The new motor is far smoother running than the original and because vibration is the enemy of turntables, it results in a lower noise floor and gives greater detail and dynamics. We also replaced the standard belt with the high performance version for better pitch stability.
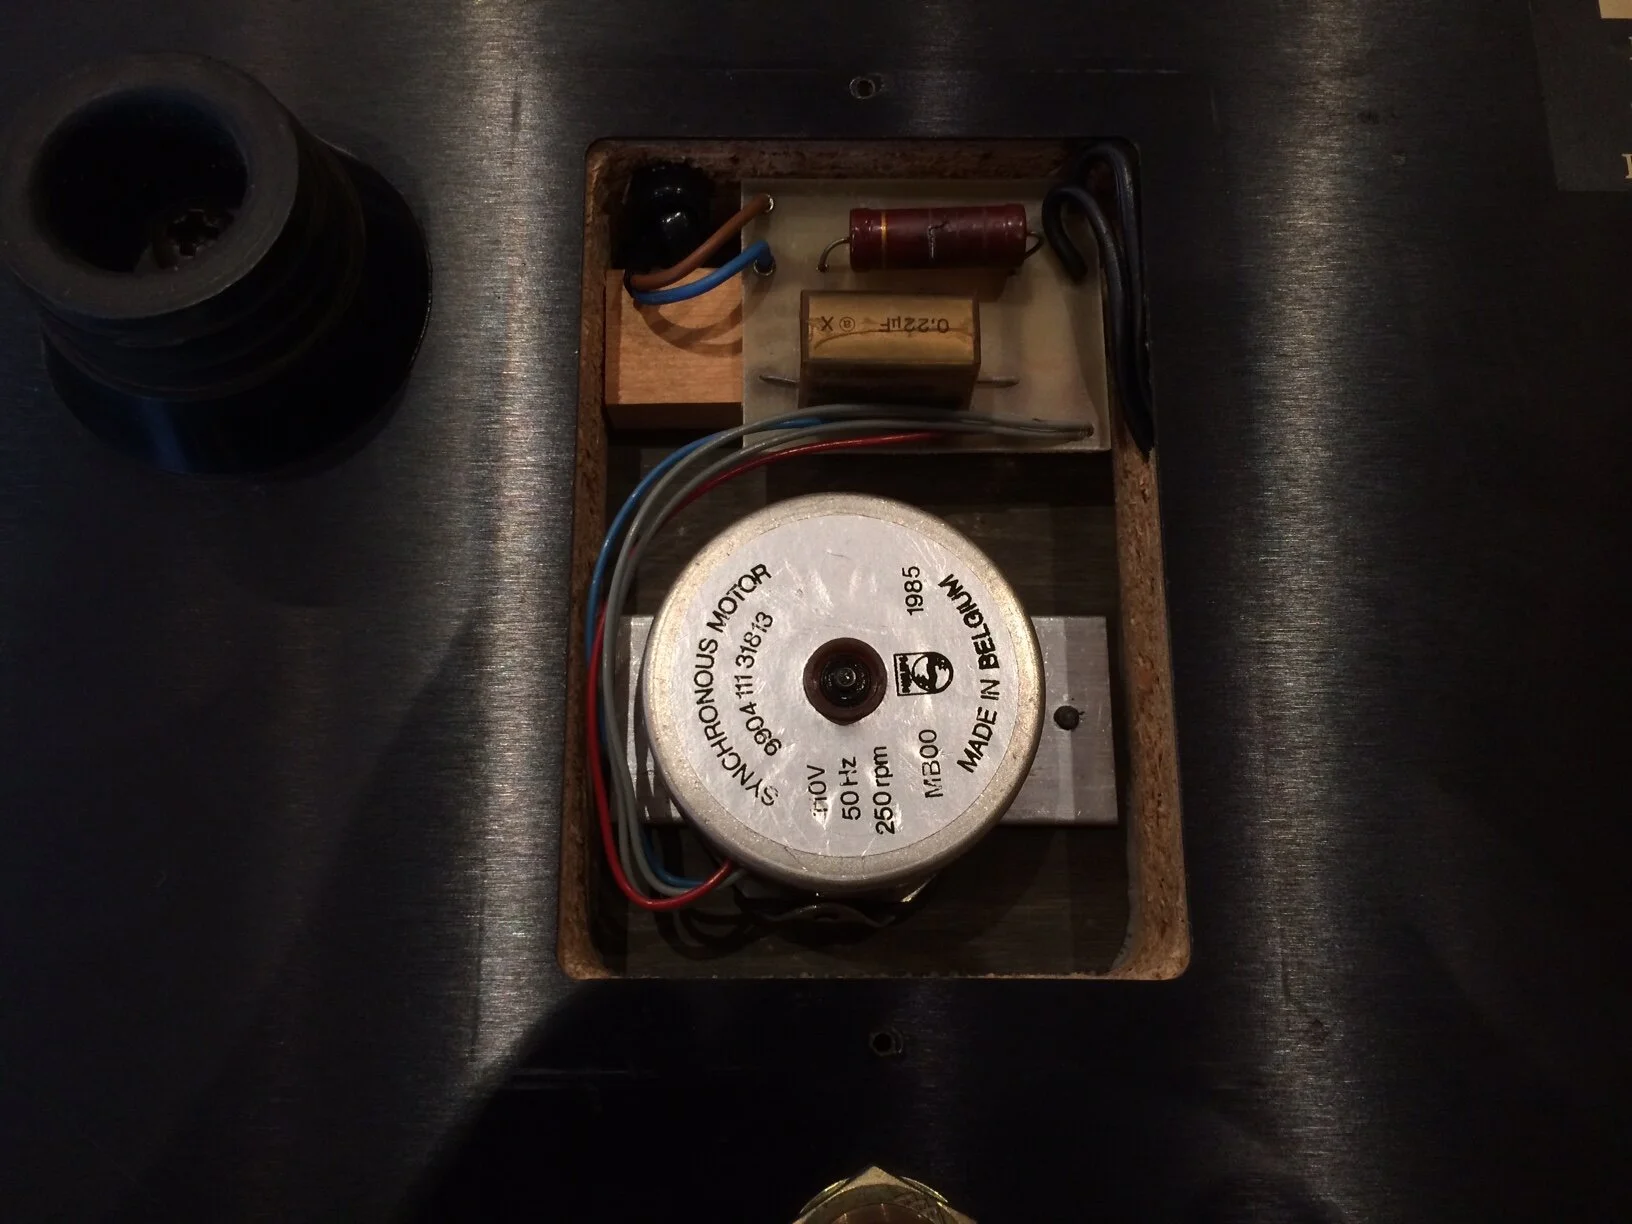
The old motor and circuit board, prior to removal.
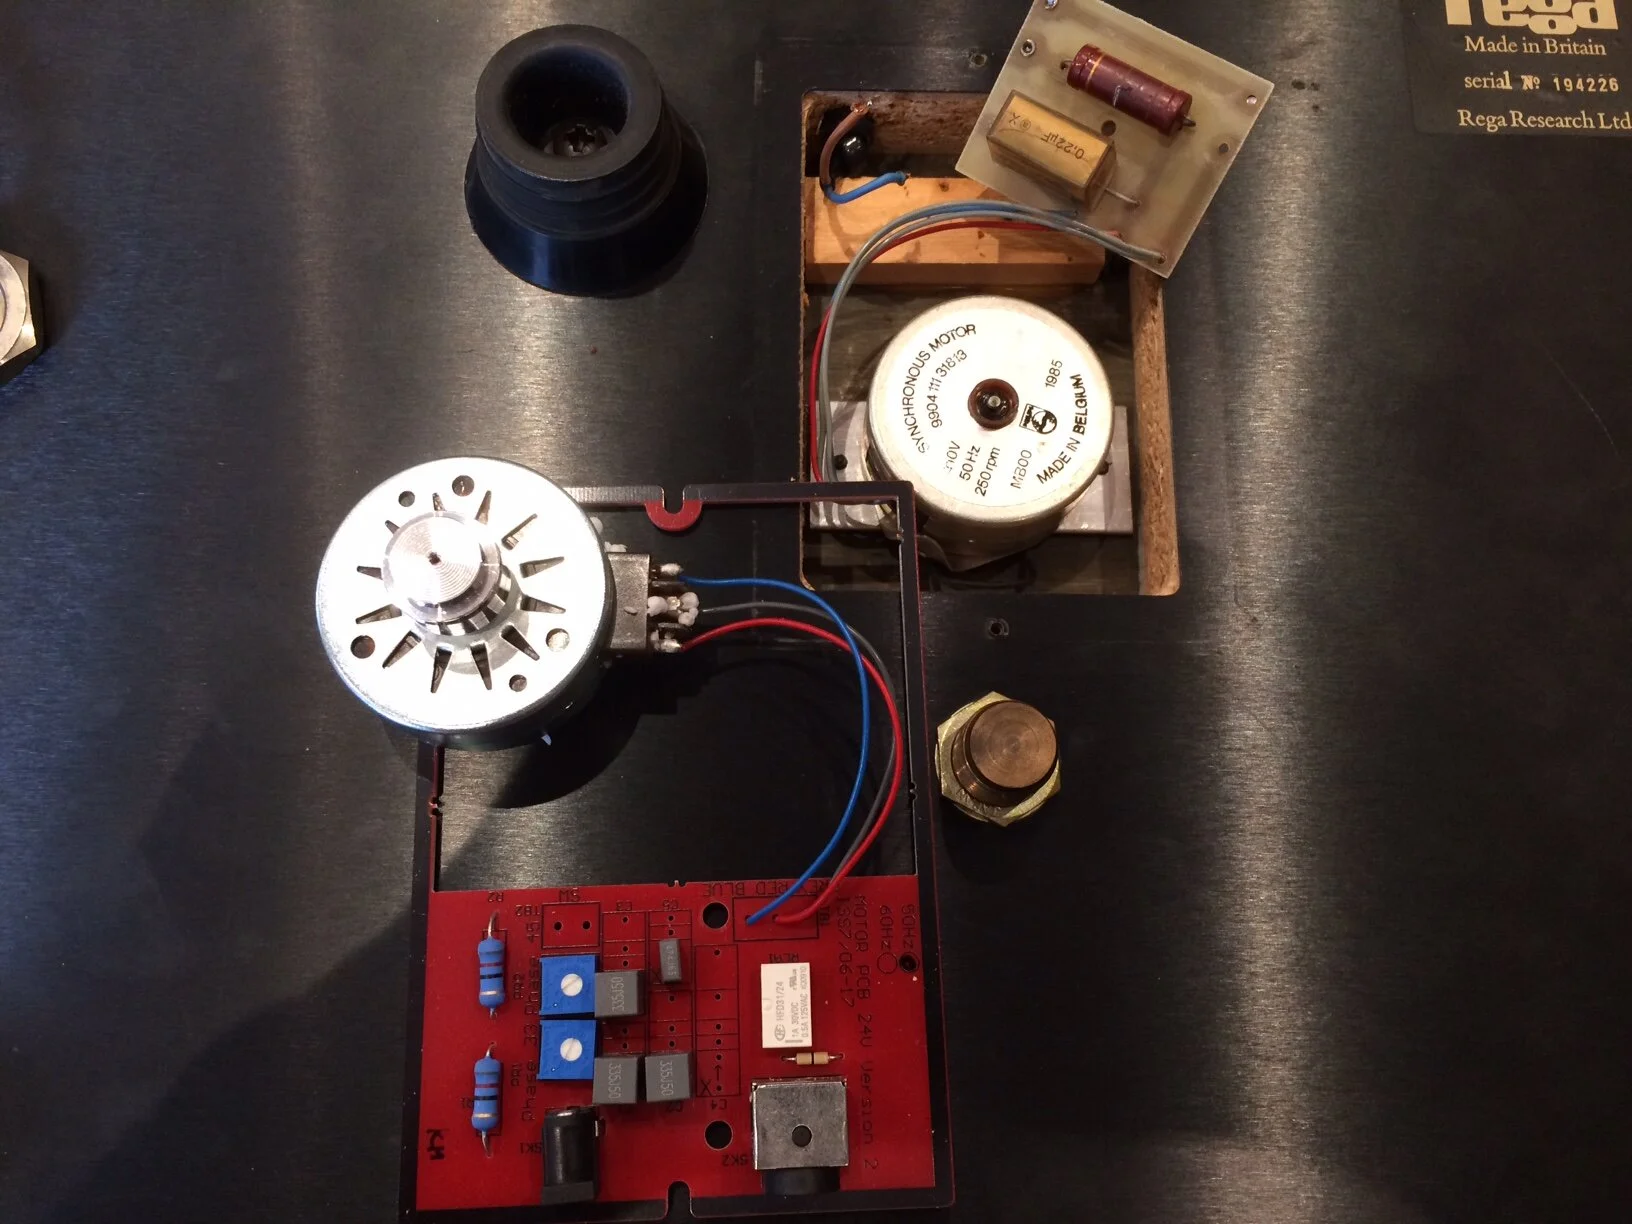
New 24 volt motor and circuit board.
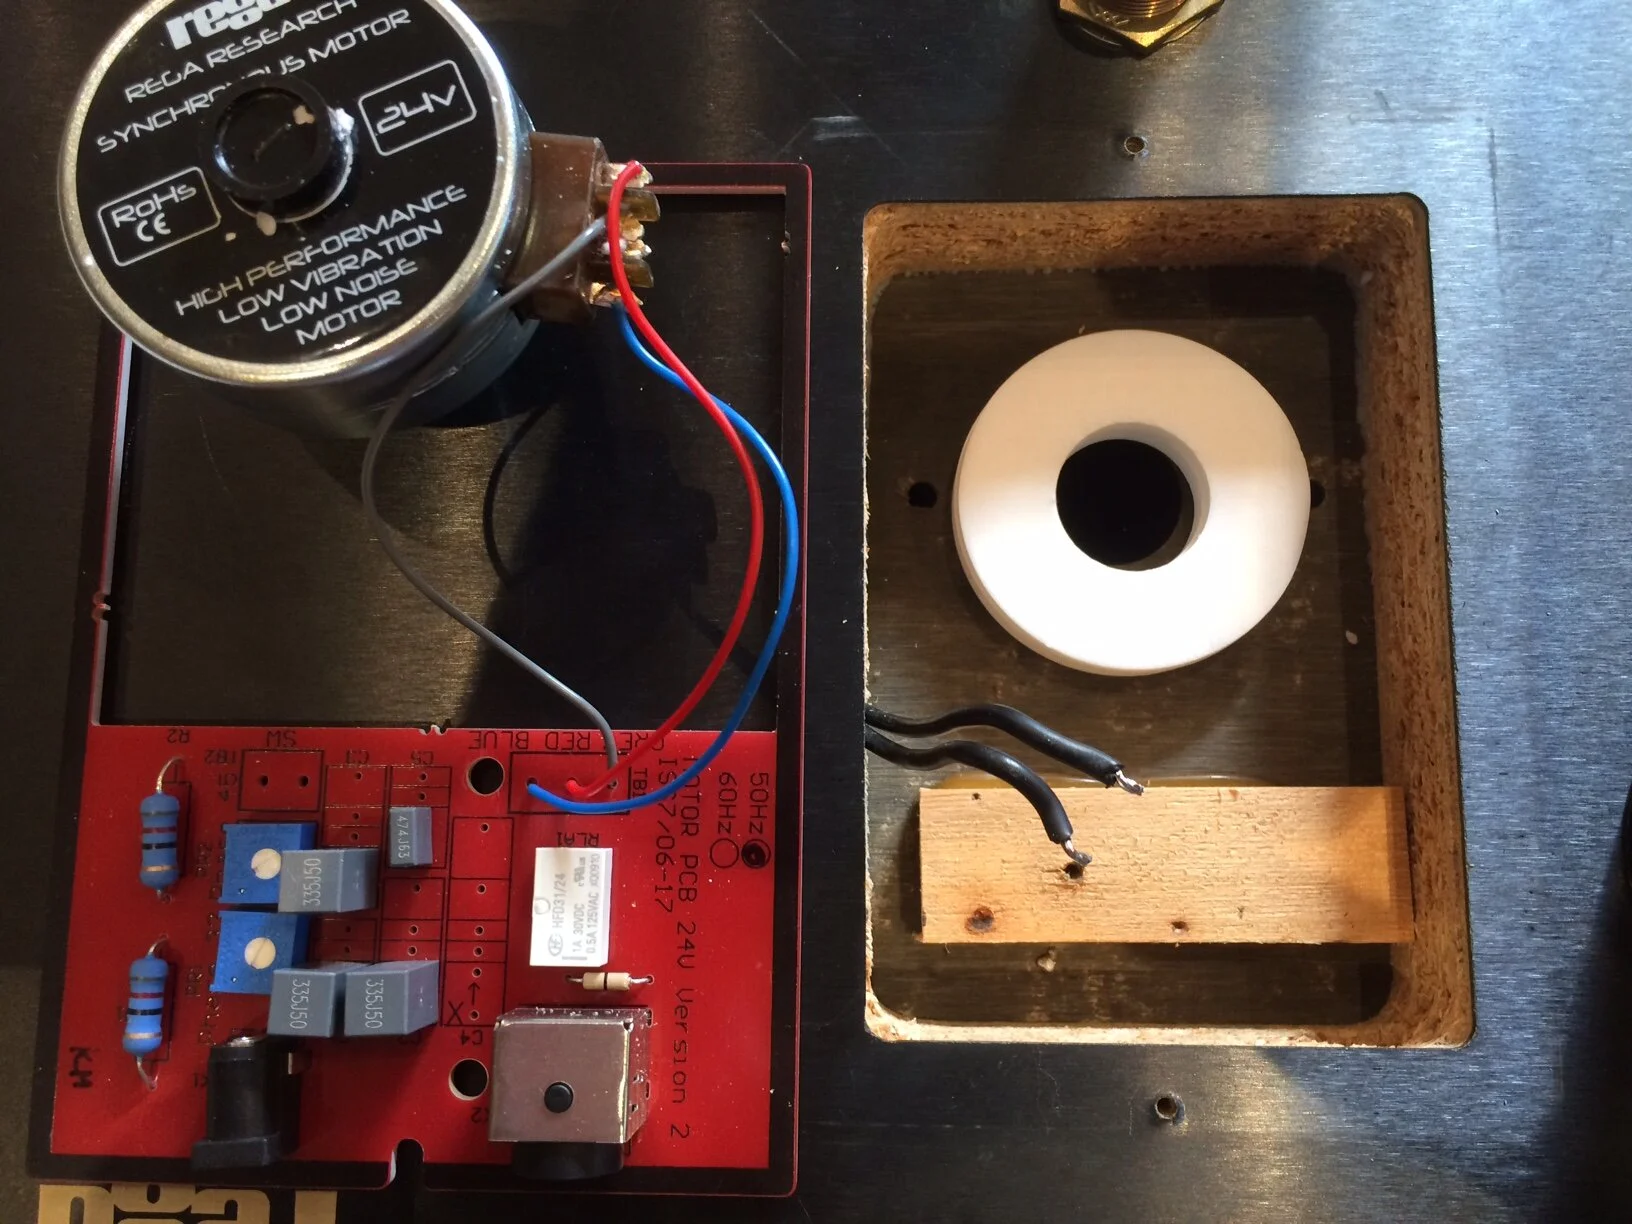
The previous motor has been removed. The new one is ready to be installed. There’s no margin for error when placing the new motor in place!
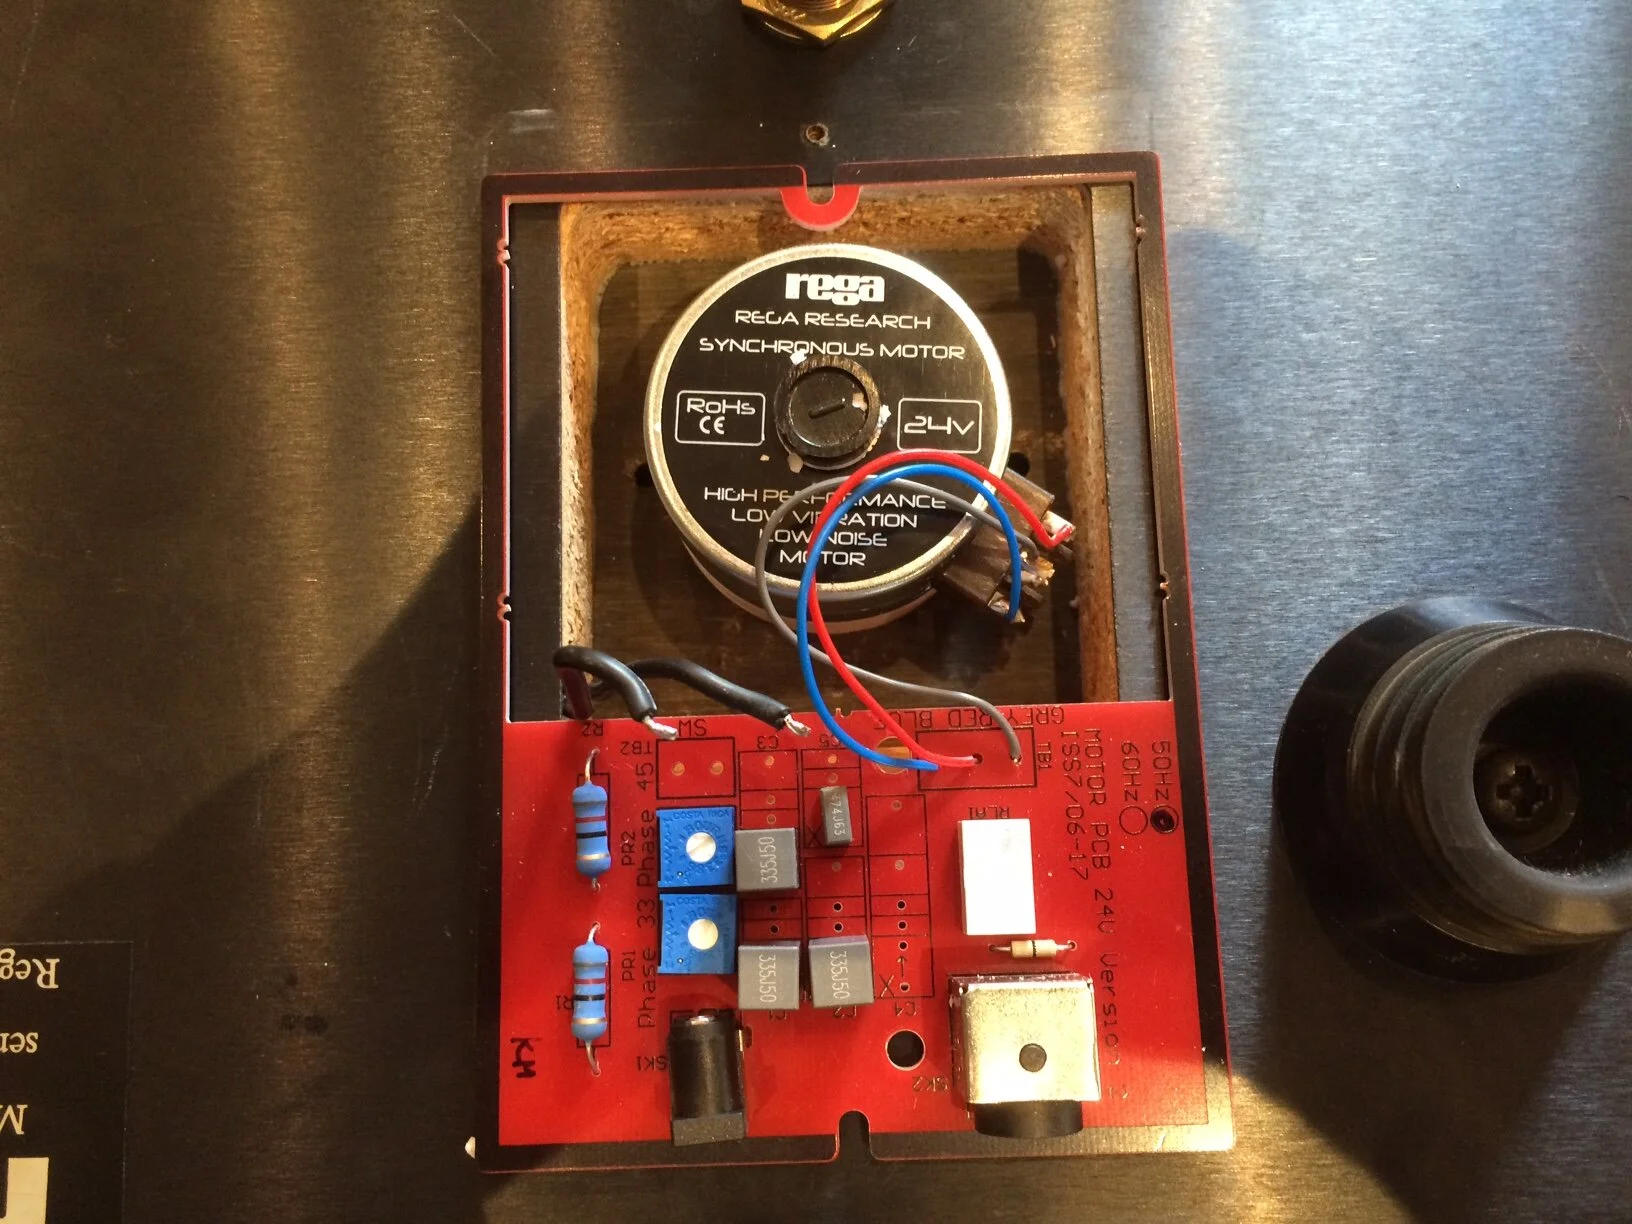
Nearly finished.
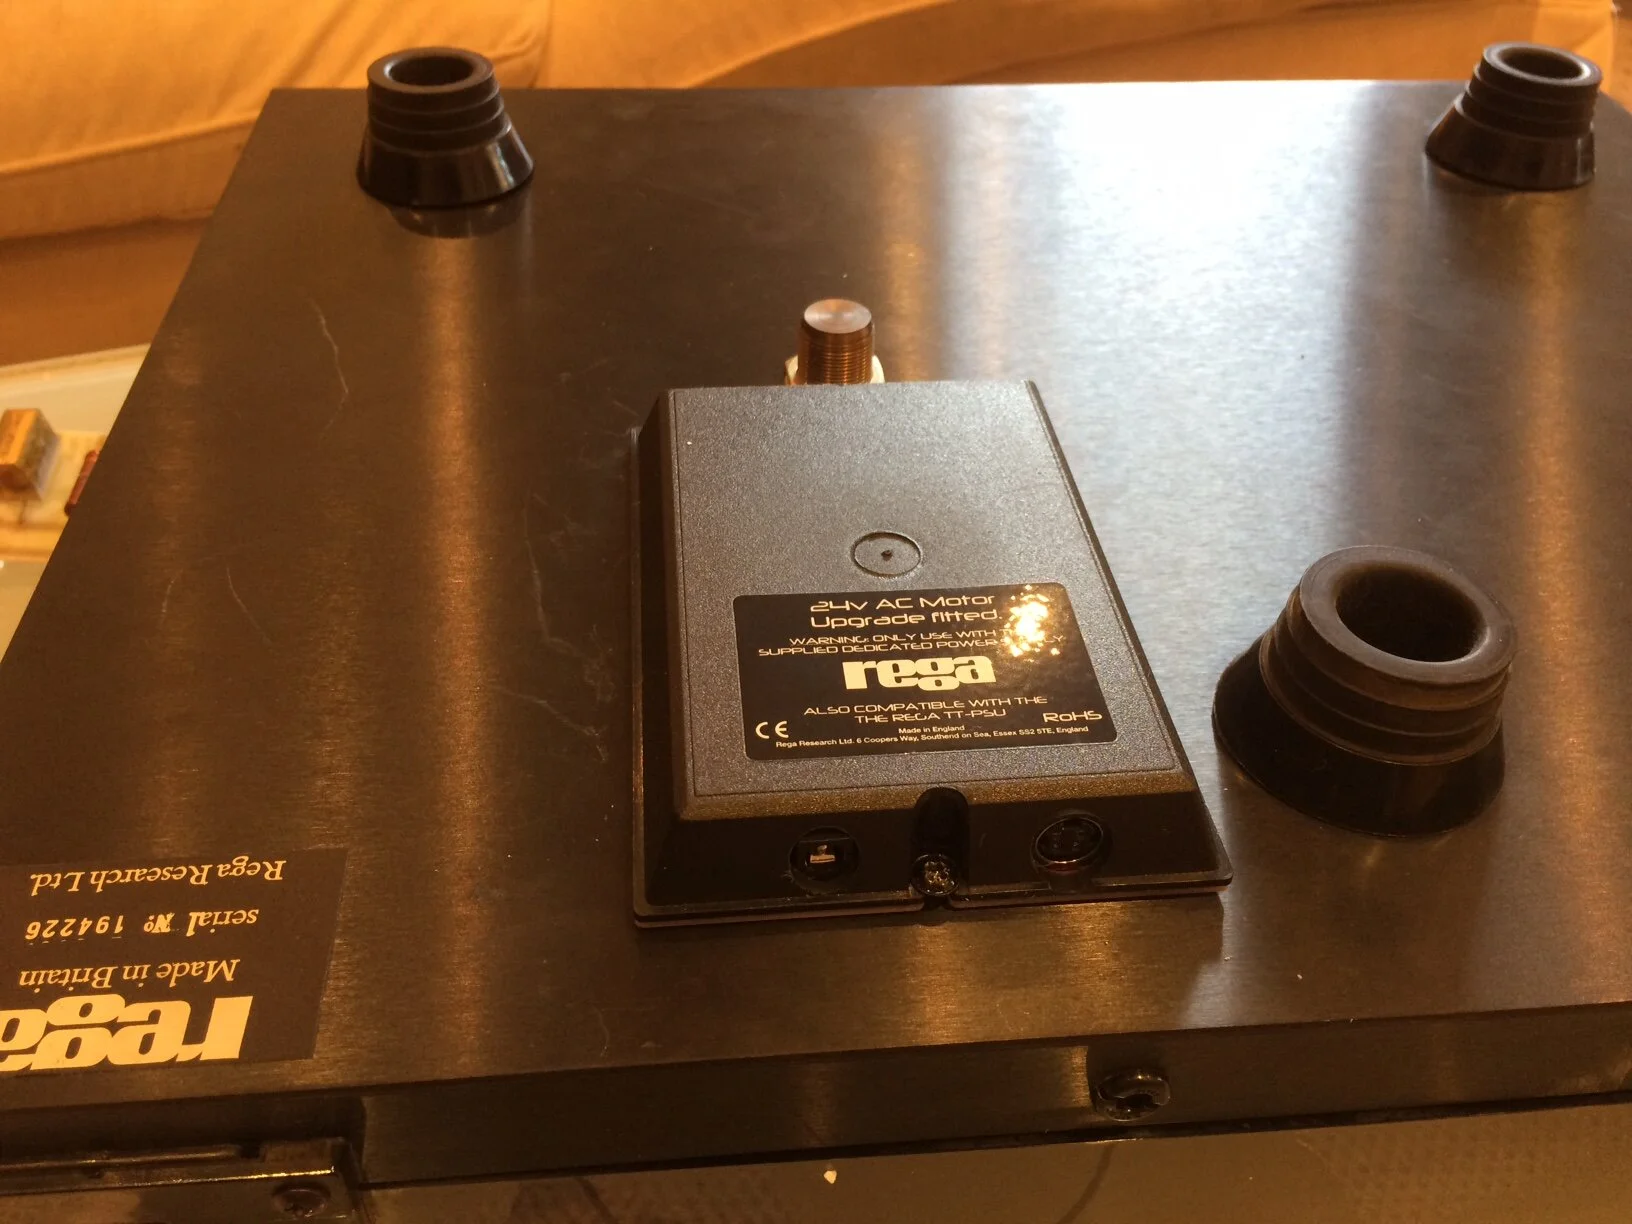
Protective cover in place.
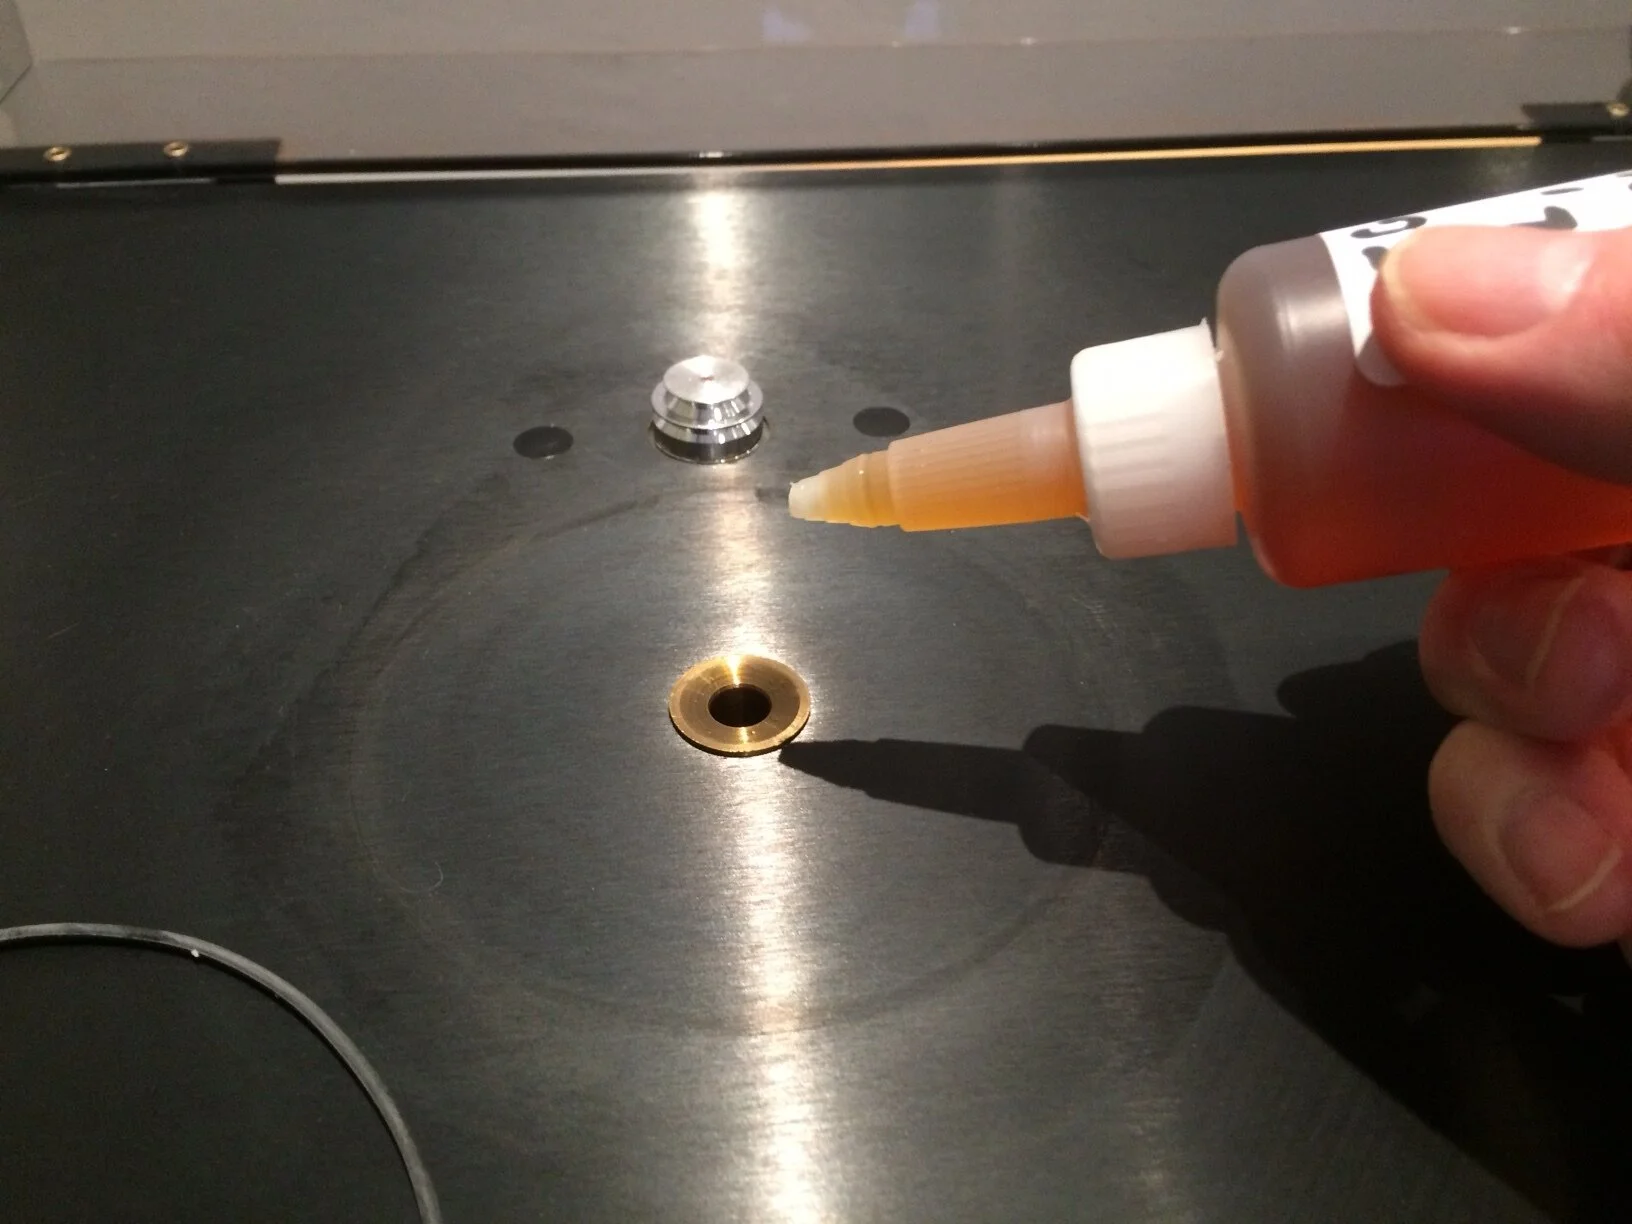
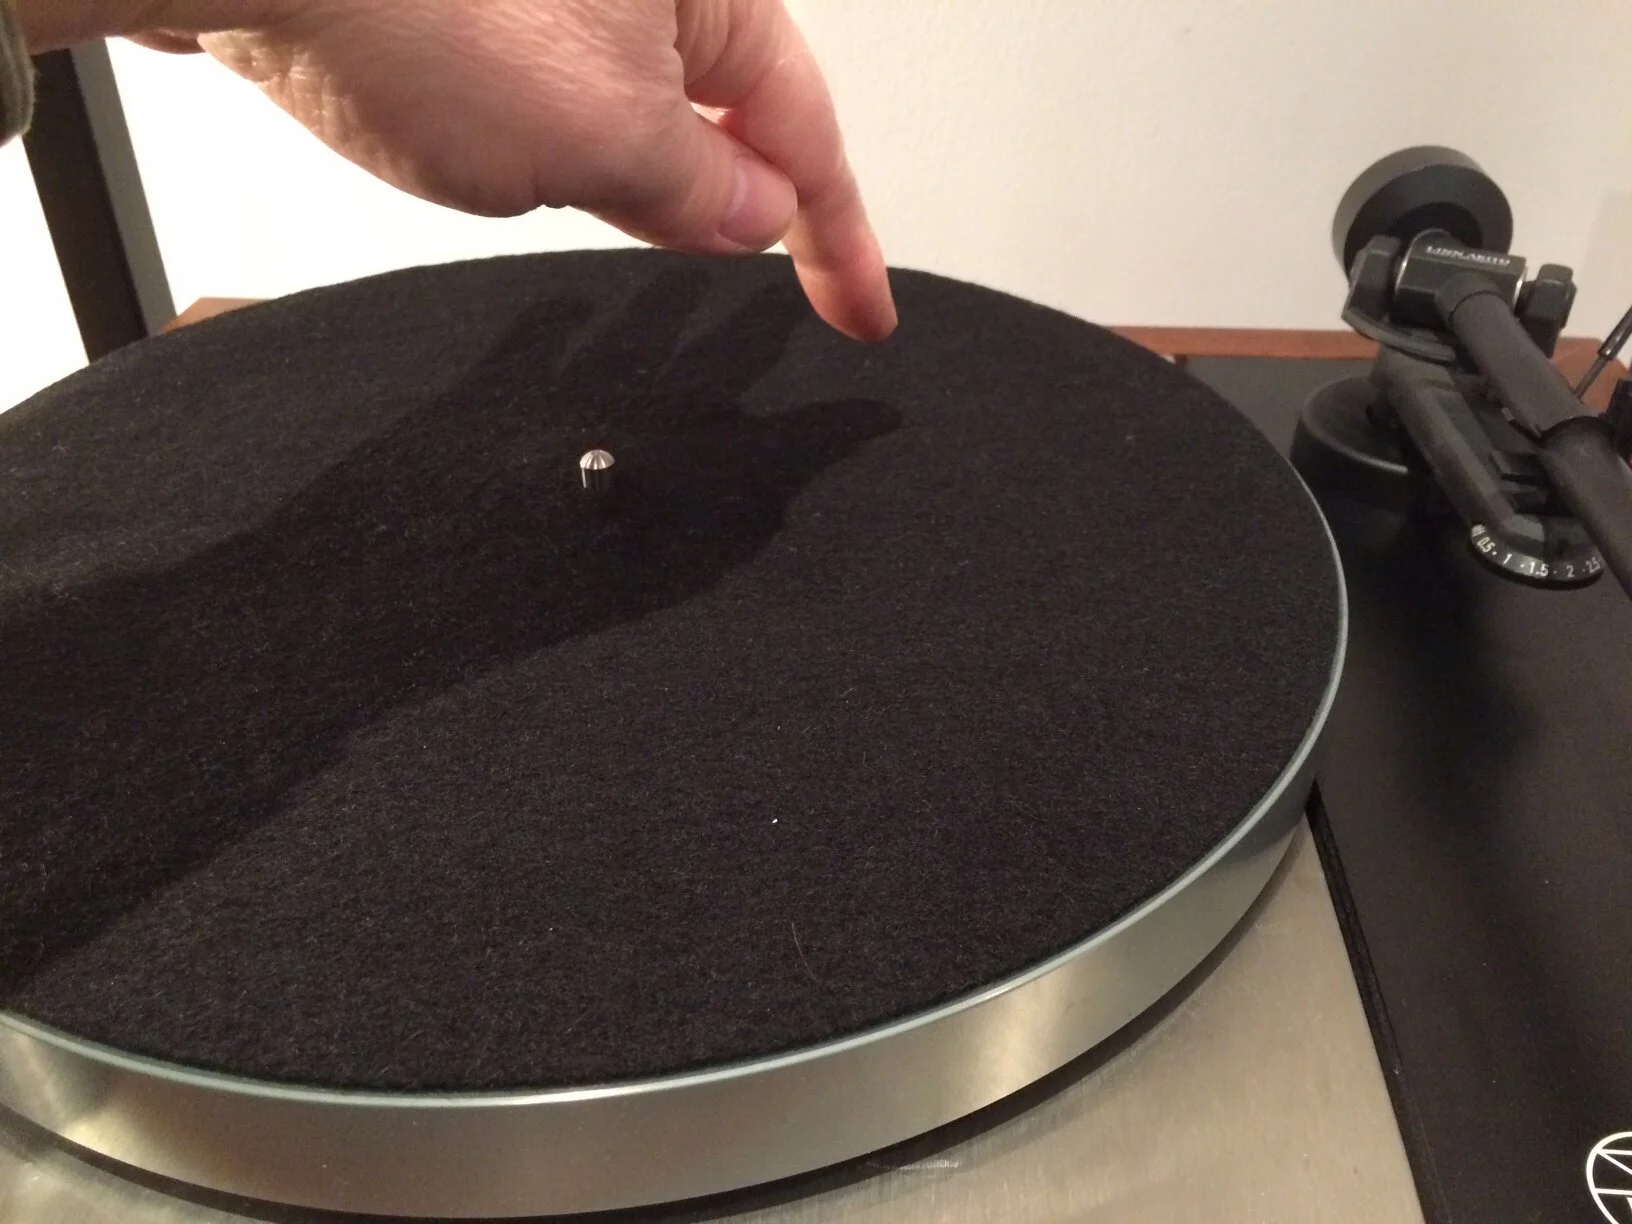
Lubricating the bearing.
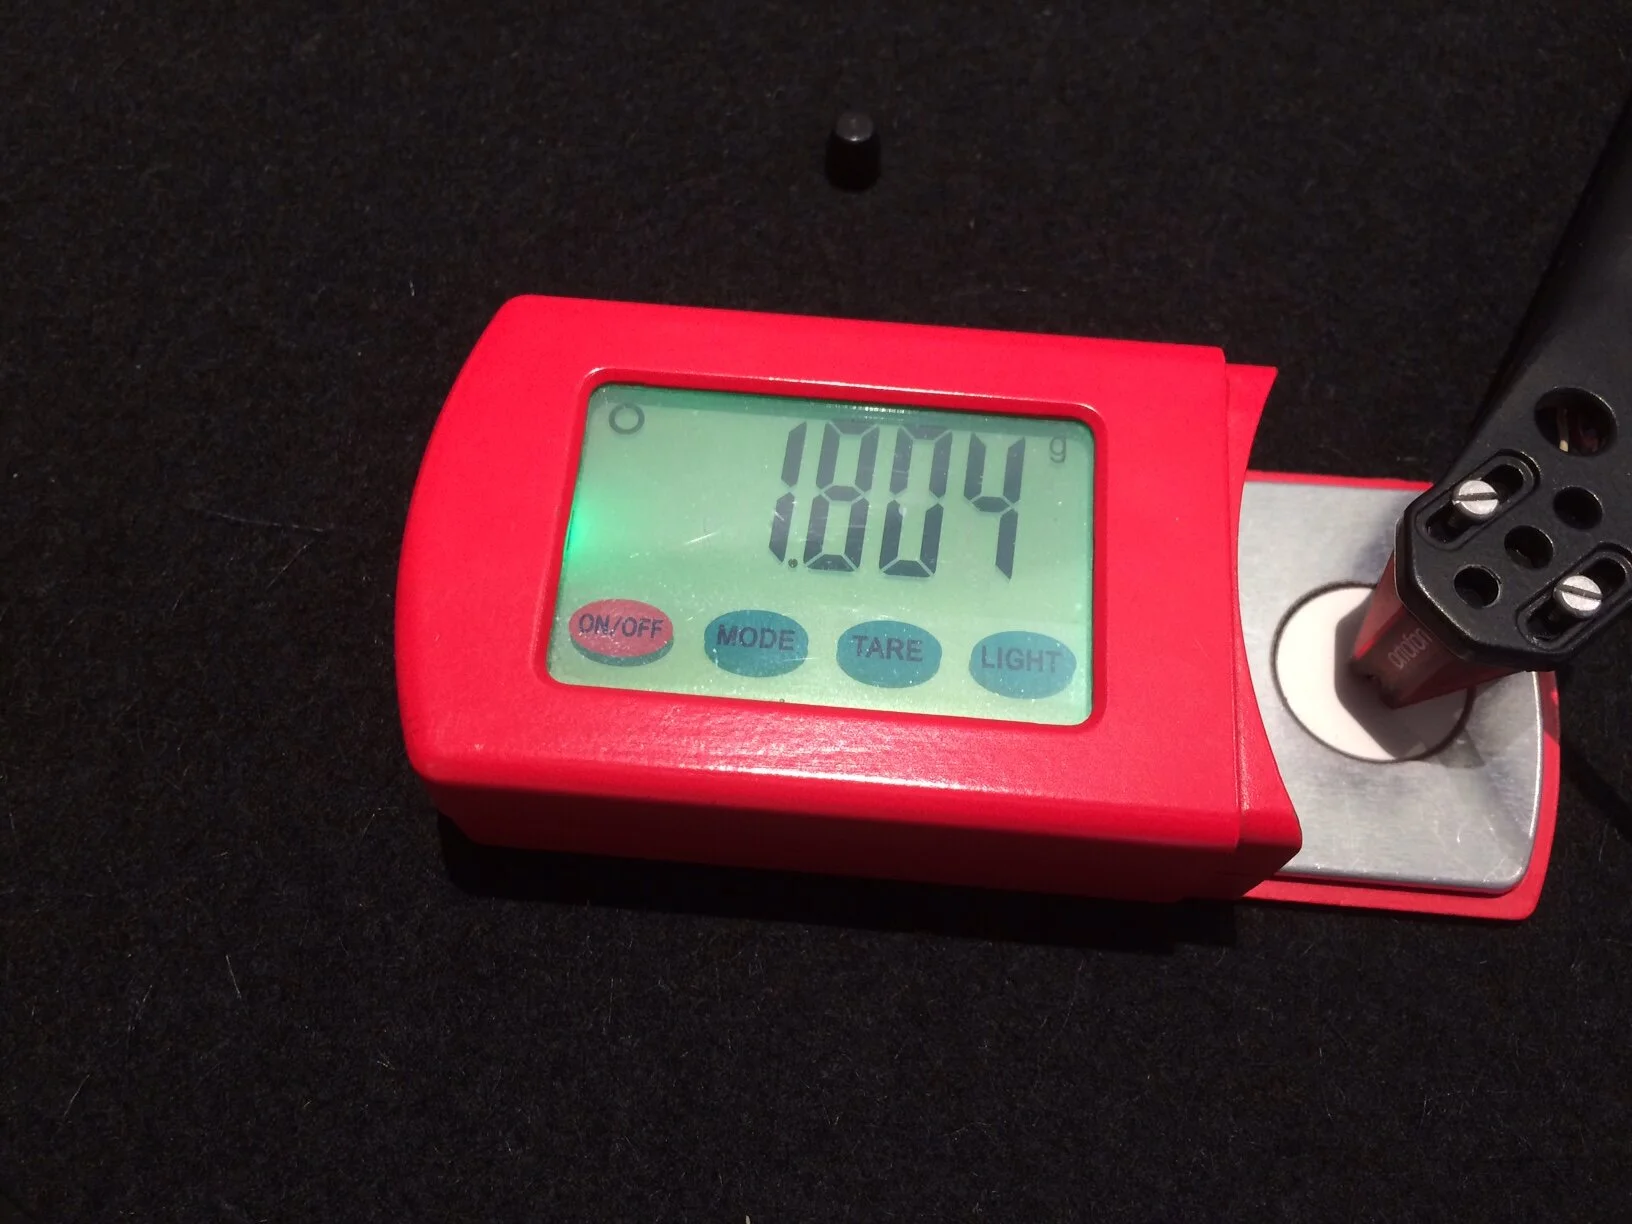
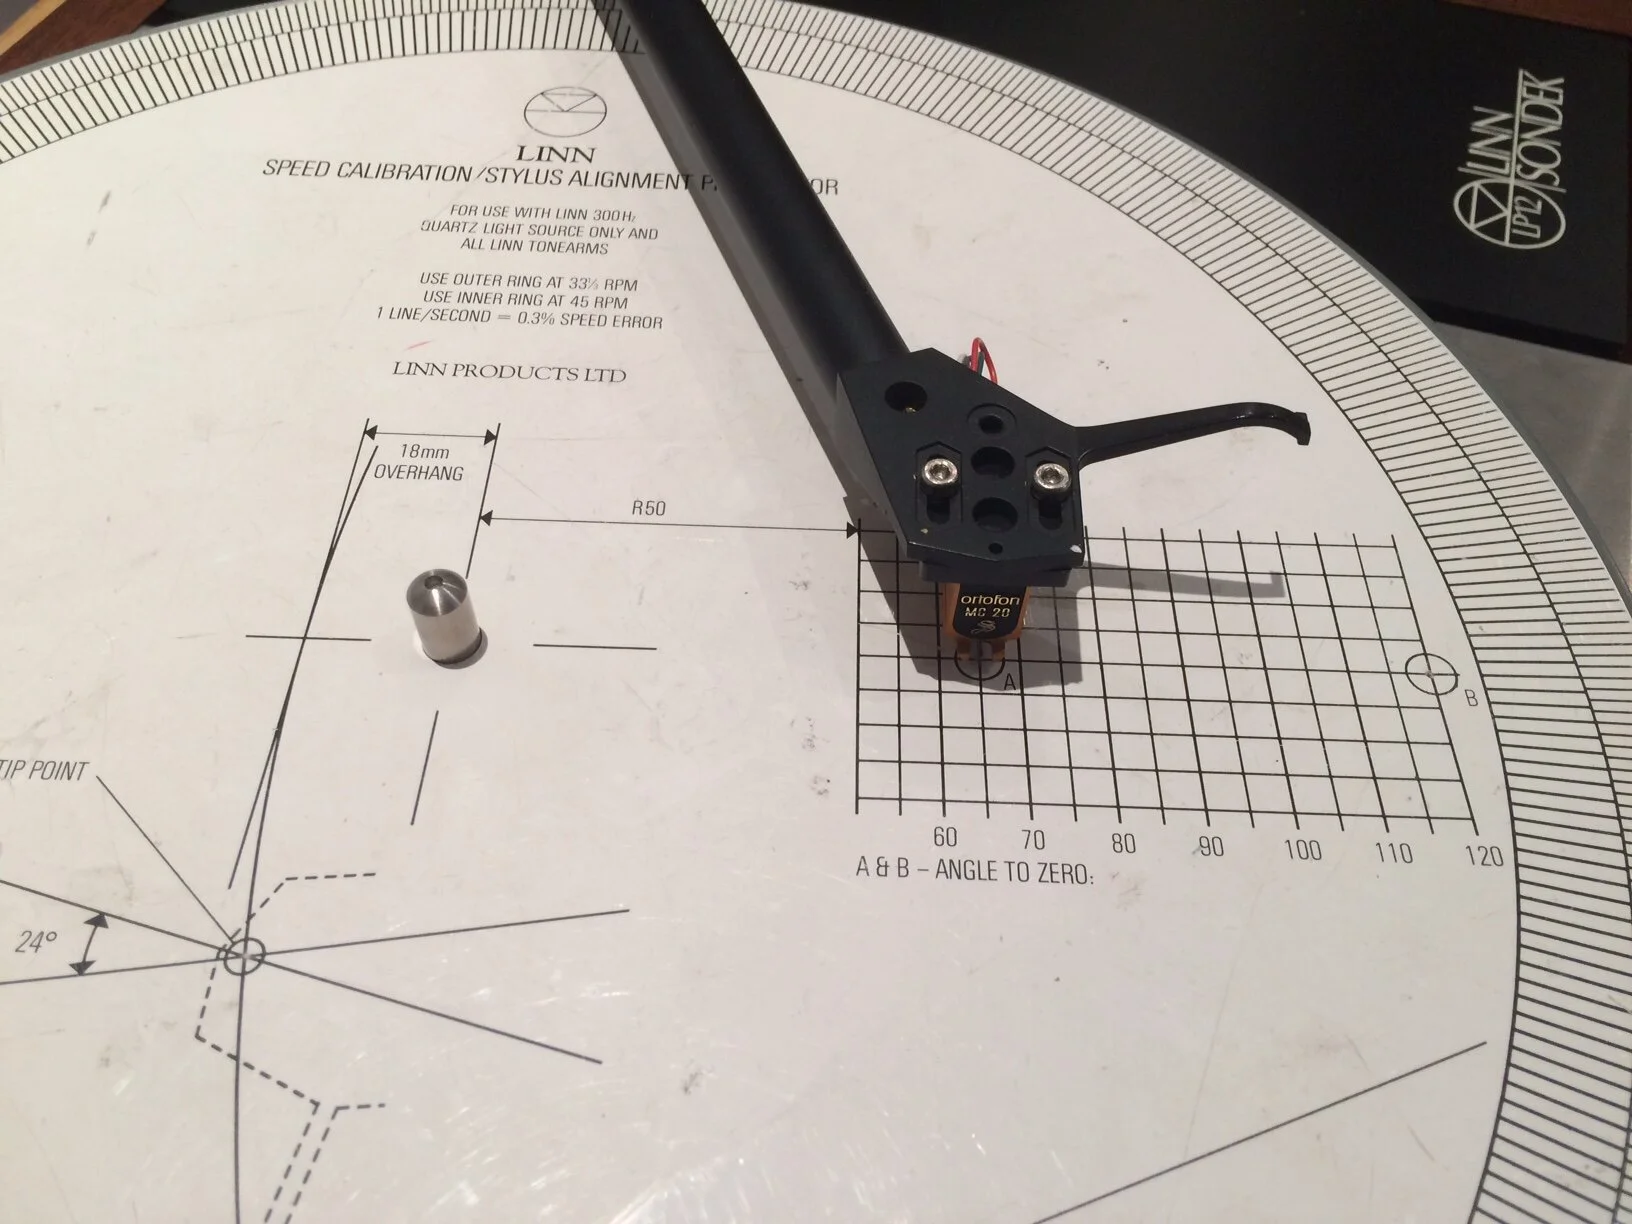
Lastly, before playing, we check the alignment and weight of the cartridge.
The finished turntable now sounds better than when it was first purchased. The customer loves it!